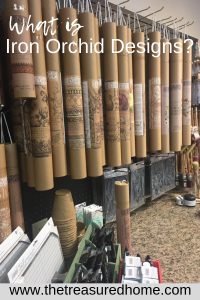
Introduction To Iron Orchid Designs May 10, 2019
Do you want to learn more about Iron Orchid Designs? If so, these introduction tutorials will take you through all of the IOD basics!
We are super excited to have Iron Orchid Designs products both online and in store at The Treasured Home. Iron Orchid Designs offers a wide variety of embellishment tools that can take an ordinary project to the next level – PLUS it’s all super fun to use. Today, Barbara will give you a quick introduction to the entire lineup of IOD offerings.

Iron Orchid Designs Offer 3 Main Product Lines:
Tips & Tricks for using the IOD Product Line:
Always start with a clean surface free of wax, dirt or other debris. This will ensure that your IOD embellishments adhere to your projects securely.
Feel free to cut your Image Transfers in order to make them fit on your project. You can also mix-and-match pieces of transfers to create a unique design that is all your own.
As you rub your IOD Image Transfer onto your surface, be sure to pull the backing away slowly. This will give you a clean finished product.
When using IOD Moulds, apply a layer of cornstarch to allow for easier removable.
You can use paper clay or resin to fill the IOD Moulds. Resin dries faster, but isn’t as malleable. We prefer to use paper clay at the shop.
If using paper clay, be sure that you always wrap your leftover clay in order to keep it from drying out. The key is to get it airtight.
When applying your IOD Moulds, use a very fine layer of wood glue. We like to use Titebond at the shop.
IOD Stamps can be used on a number of surfaces including paper, tea towels, pillow cases and so much more.
Before you begin using your IOD Stamps, give them a light sanding.
Watch below as Barbara introduces you Iron Orchid Designs!!
IOD Decorative Transfers
IOD Clay Moulds
IOD Decor Stamps
You can find the entire line of Iron Orchid Designs products online NOW!!!

